If you are laying this out on some rough sawn timbers using square rule layout, you'll have to pull all your measurements from the top down.
And not just rely on the bottom for your 45° angle cuts to make the "under squinted butts".
Like this:
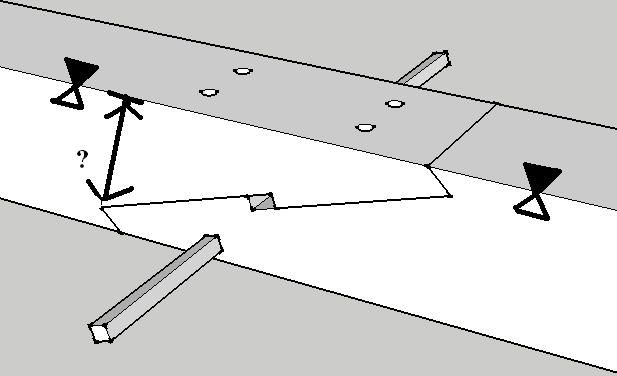
That way if one timber is 1/8" larger then the other it won't matter.
In my version of your picture, I added two filled in triangles to show the reference face and edge, and two open triangles to show the adjacent face pointing to the reference edge.
This is the point or edge I pull all my dimensions from and when I did that then the joints were easy to layout and cut.
As I had several to do, I tested different methods of cutting them.
First, I did the method that is shown in Ted's book with cutting lots of saw cuts with a skill saw. That method worked but it was a lot of work and very time consuming.
Next, I tried something else.
I had a chain mortiser and I wanted to use that to cut out the center or table of the scarf.
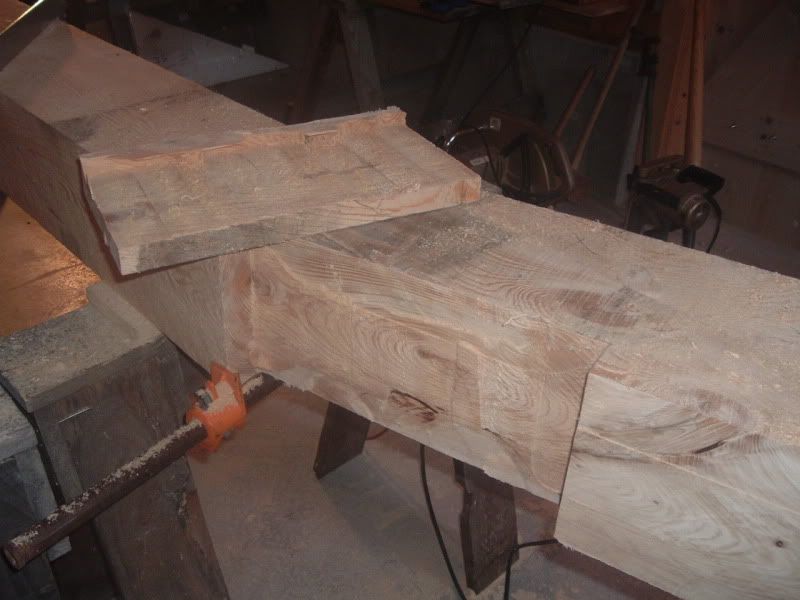
So the first thing I did was I cut off the long line:
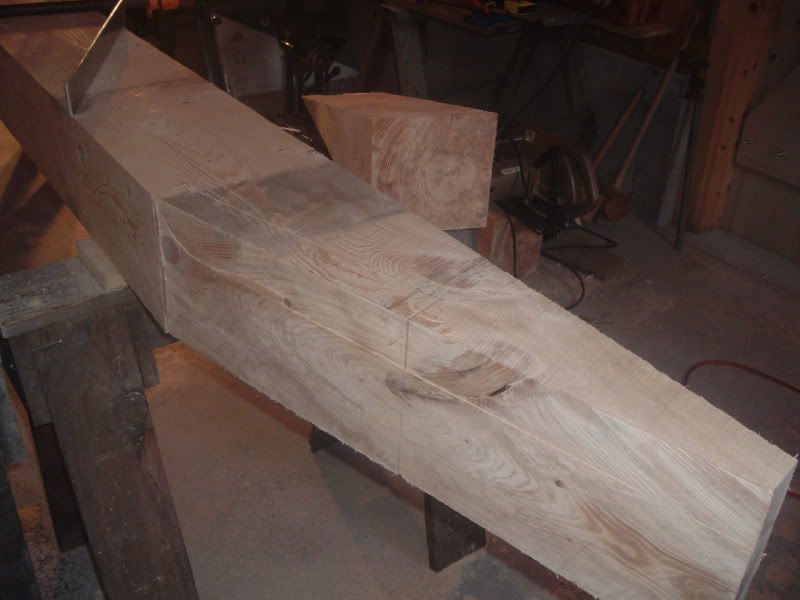
You can see the wedge block on the saw horse in the back.
The next thing I did was I clamped the wedge block back onto the timber so that the back edge was parallel to the table.
Like this:
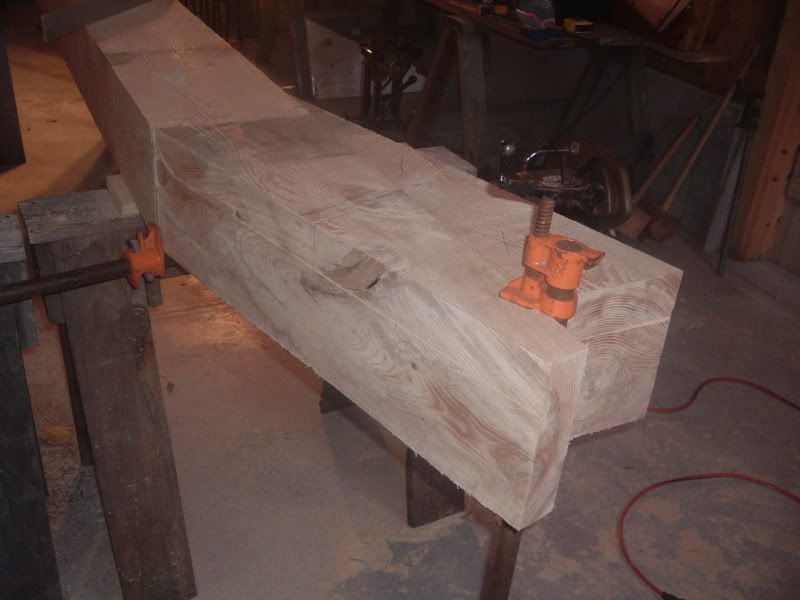
and this:

This allowed me to use my chain mortiser to like this:
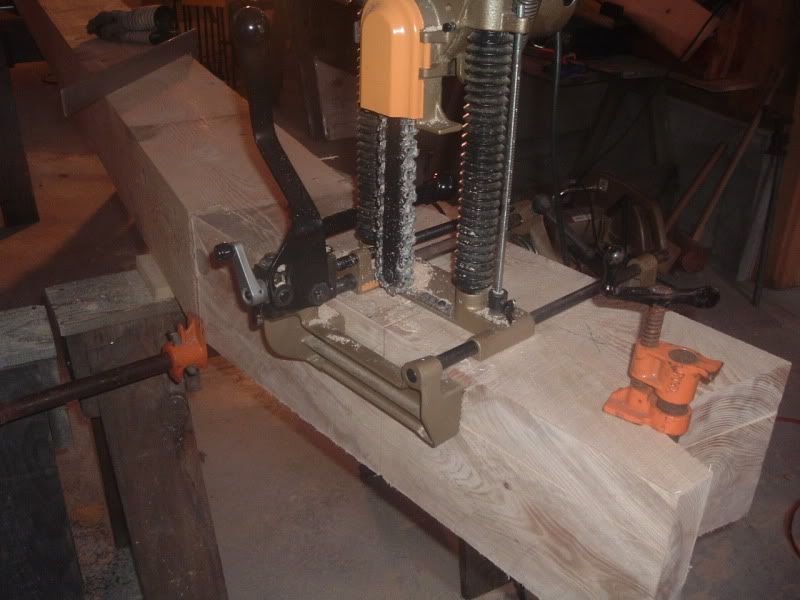
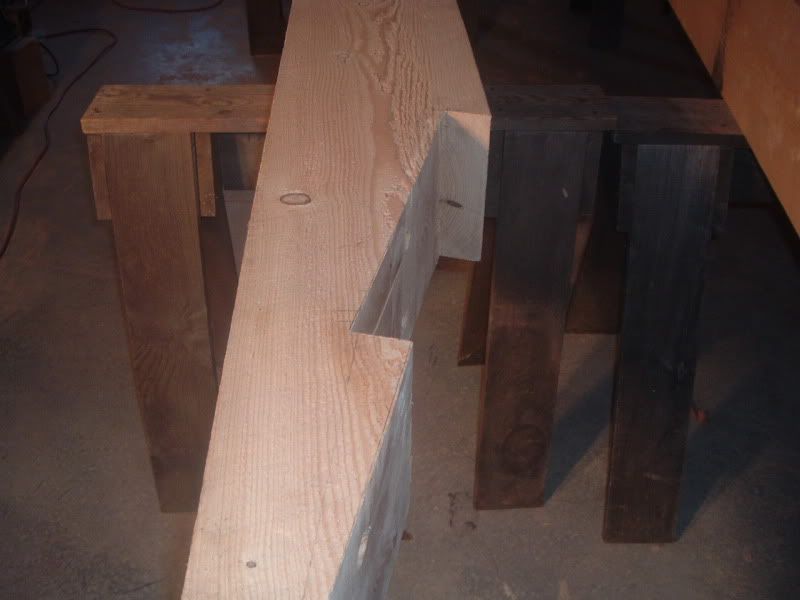
And when I did I was able to remove the entire table area in one big piece:
With a little chisel work the half was done:
My "under squinted butts" weren't at a 45° angle to the bottom or top surface. But they were 90° to the table surface.
I think if and when I do it again, I would increase the angle closer to the 45° slope.
Hope this helps.
Jim Rogers


